
How to Fix a Wobbly Light Switch: A Simple UK DIY Guide
A wobbly light switch is a common annoyance in many UK homes, especially after a bit of decorating. That slight movement under your thumb might seem like a minor issue, but it can spoil the look of a freshly plastered or tiled wall. The good news is that you can often fix it yourself with a simple, inexpensive solution.
The wobble is rarely a sign of a major electrical fault. More often than not, it is a structural problem caused by a gap between your switch and the wall. This guide will walk you through how to fix a wobbly light switch safely, achieving a secure, professional finish without needing an electrician.
You can design your perfect custom fit spacer now with the Build My Spacer tool on our new site: socketspacers.com.
Table of Contents
- Why Your Light Switch is Wobbly: Identifying the Cause
- Safety First: Preparing for Your DIY Fix
- How to Fix a Wobbly Light Switch: Step-by-Step
- Achieving a Professional Finish Every Time
Why Your Light Switch is Wobbly: Identifying the Cause
First, let's define a "wobbly" switch. We are not talking about an internal fault where the rocker feels loose. We mean the entire faceplate moves when you press it, shifting independently of the wall surface. This is almost always caused by one thing: a recessed backbox.
- The Recessed Backbox: This is the metal or plastic box inside your wall that houses the wiring. When new plasterboard or tiles are added, the front edge of the backbox ends up sitting too deep inside the wall.
- The Problem with Screws: When you tighten the faceplate screws, they pull the switch towards the backbox lugs. If there is a gap, over-tightening can crack the plastic faceplate or, worse, pull the entire backbox forward, damaging your wall.
- Structural vs. Electrical: It is important to distinguish this physical wobble from an internal electrical fault. If your switch crackles, feels warm, or the lights flicker, that is a different problem that requires an electrician.
The Impact of Kitchen and Bathroom Tiling
Tiling is a prime culprit for creating wobbly switches. A standard wall tile combined with adhesive can easily add 10mm of depth to your wall. This creates a void behind the switch faceplate, making it impossible for the standard 25mm screws to secure it tightly against the wall surface. The result is a "floating switch" that moves every time you use it, ruining the clean lines of your new decor.
Risks of Leaving a Switch Loose
Whilst usually not an immediate danger, a loose switch should not be ignored. A recessed backbox is a structural gap that prevents the faceplate from sitting flush, which can lead to problems over time.
- Wire Damage: Constant movement can cause the insulated electrical wires to rub against the sharp metal edges of the backbox, potentially leading to damage.
- Dust and Moisture: The gap can allow dust, debris, and even moisture to get behind the faceplate, which is never ideal for electrical connections.
Safety First: Preparing for Your DIY Fix
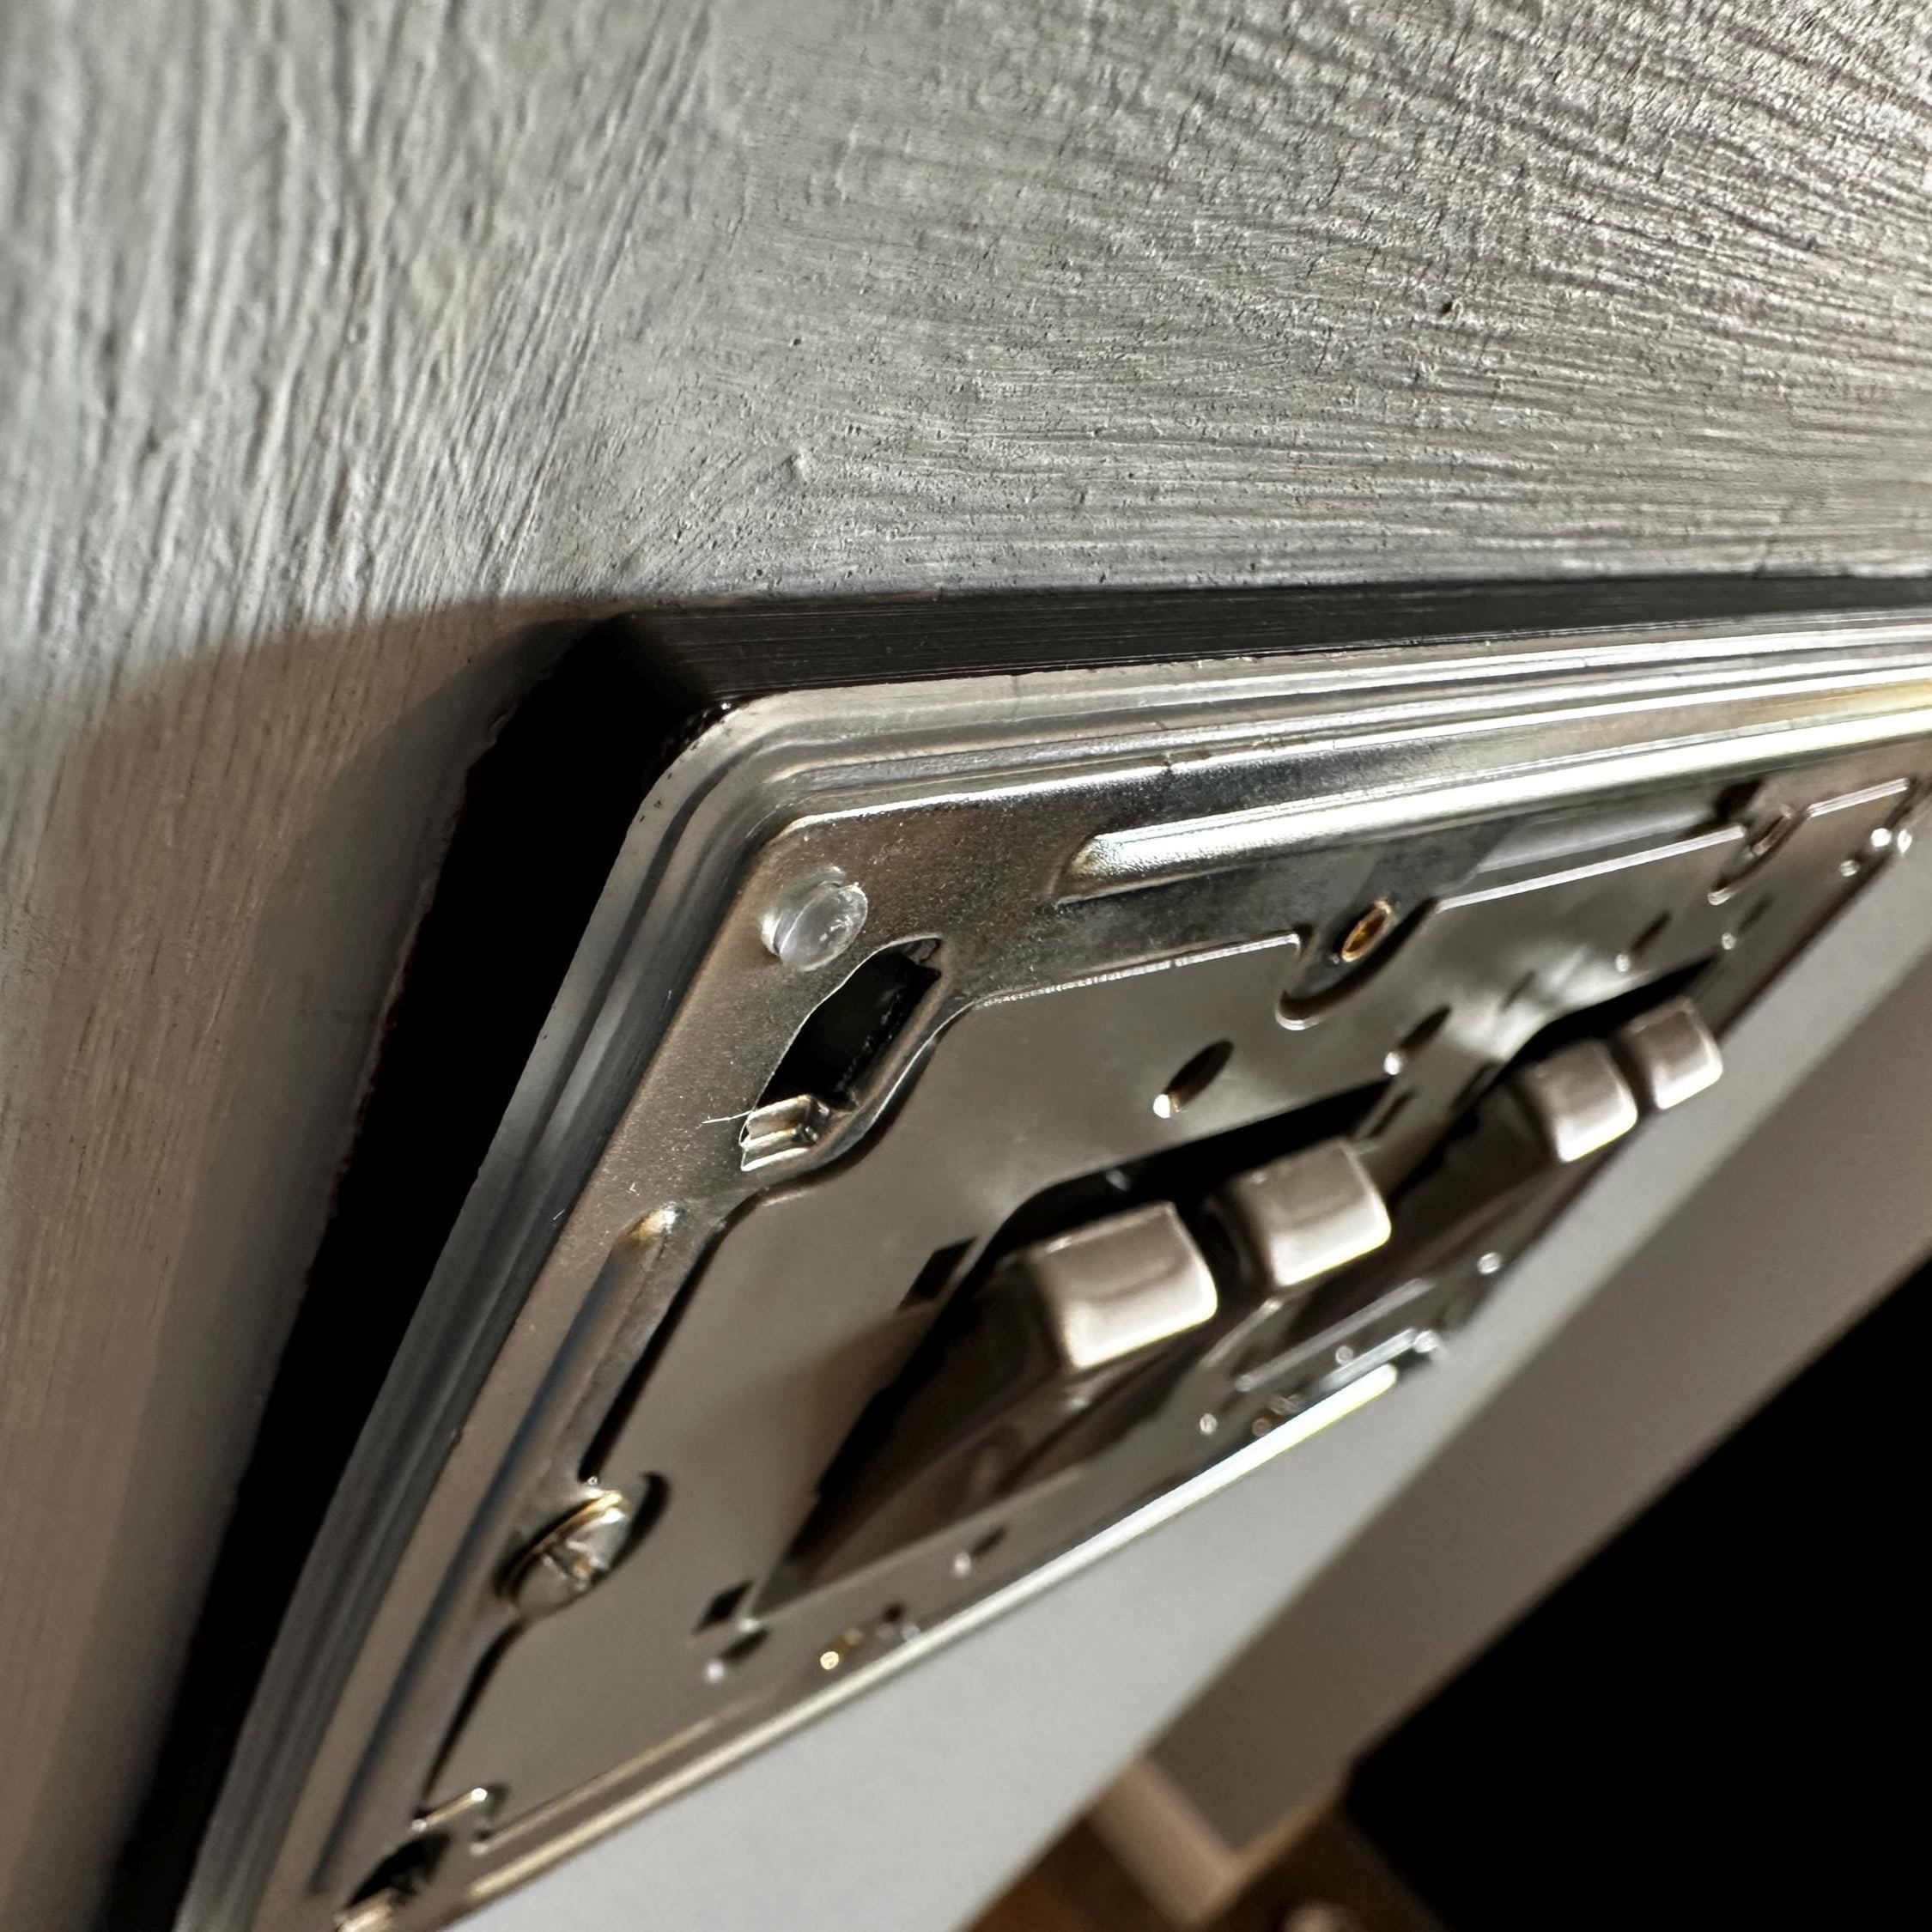
Thankfully, the perfect solution to these problems is a light switch spacer. This sits between the backbox and faceplate, providing a new, stable surface for the faceplate to sit on.
![]()
Before you touch any electrical fitting, safety is paramount. The golden rule of any electrical DIY is to isolate the power at its source. Turning the switch off at the wall is not enough.
- Isolate the Power: Go to your consumer unit (often called a fuse box) and switch off the circuit breaker for the lighting circuit you will be working on. It should be clearly labelled.
- Verify the Power is Off: Use a non-contact voltage tester to double-check that there is no power reaching the switch. Simply hold the tip near the screws and switch mechanism; it should not light up or beep.
- Organise Your Workspace: Have all your tools ready. Keep the small M3.5 screws in a pot or magnetic tray so they do not get lost.
Essential Tools for the Job
Using the right tools is not just about making the job easier; it is about keeping you safe. For any electrical work, you will need:
- VDE Insulated Screwdrivers: These are a non-negotiable safety essential. They have insulated shafts to protect you from electric shock if you accidentally touch a live component.
- A Torch or Headlamp: You will be working with the lights off, so a good light source is crucial.
- Smartphone Camera: To take a quick photo of the wiring before you disconnect anything.
- The Correct M3.5 Electrical Screws: You will likely need longer screws to accommodate the new spacer.
Isolating the Circuit Safely
Find your consumer unit, which is usually located under the stairs, in a utility room, or near your front door. Open it and find the circuit breaker labelled "Lighting" or "Upstairs Lights". Flick it to the "OFF" position. Go back to the light switch and try to turn the lights on. If they do not come on, the circuit is isolated. Even then, always use a voltage tester to be 100% sure. Warning: If you are unsure about any of these steps, stop immediately and consult a qualified electrician.
How to Fix a Wobbly Light Switch: Step-by-Step
With the power safely off, you are ready to fix the wobble for good. This process may involve disconnecting the wires, so it is vital to be methodical.
- Unscrew and Check: Carefully unscrew the two faceplate screws and gently pull the switch away from the wall. Let it hang by its wires for a moment.
- Photograph the Wiring: Before you touch a single wire, take a clear photo with your phone. This will be your reference to ensure you reconnect everything correctly. Note which wire goes into which terminal (e.g., L1, L2, COM).
- Disconnect the Wires: Using your insulated screwdriver, carefully loosen the terminal screws and remove the wires.
- Install the Spacer: Place your light switch spacer over the backbox. Our spacers are designed to fit perfectly around a standard UK backbox.
- Reconnect the Wires: Referring to your photo, reconnect each wire to its correct terminal on the back of the switch module. Ensure the screws are tight and the copper wire is securely gripped.
- Secure the Faceplate: Gently push the re-wired switch module back into place, tucking the wires carefully into the backbox. Align the faceplate with the spacer and screw it in using the new, longer M3.5 screws.
Installing Light Switch Spacers
While you might see suggestions for using washers or bits of cardboard, these are not ideal solutions. Washers are fiddly to align, and cardboard is a potential fire hazard. A purpose-made spacer is the best option because it provides a solid, flat, and non-conductive surface for the switch to sit against. It sits flush against the backbox rim, bridging the gap to the wall perfectly and ensuring a stable fit.
Securing the Faceplate
As you tighten the new screws, do so evenly. Tighten the top one a little, then the bottom one, alternating until the faceplate is snug. Do not over-tighten. The switch should now be completely solid, with no movement when you press it. Once you are happy, you can restore power at the consumer unit and test the switch. For different depths and outlet types, you can view our full range of socket and switch spacers.
Achieving a Professional Finish Every Time
The biggest benefit of using a spacer is the clean, professional finish. There will be no more ugly gaps or shadows around the edge of your light switch. Because the spacer provides a solid backing, it also prevents the faceplate from bending or cracking under pressure, extending the life of the fitting. This same principle applies to all your outlets, including plug sockets, dimmer switches, and fused spurs.
When to Replace the Switch
Sometimes, the problem is more than just a wobble. You should replace the entire switch unit if you notice:
- Signs of Wear: A crackling sound when used, visible burn marks, excessive heat, or a "mushy" feeling click instead of a firm one.
- Upgrading Your Decor: If you are updating your home with modern finishes, it is the perfect time to install new switches that match your style.
Our 3D-printed PLA spacers provide a durable, non-conductive, and modern solution for any home improvement project. You can find out more about the material in our complete guide to PLA plastic.
Handcrafted Solutions for Your Home
For older UK homes with irregular walls or non-standard fittings, off-the-shelf solutions do not always work. Bespoke 3D-printed hardware can be the perfect fit, tailored to your exact needs. Our commitment to quality means every spacer we produce is made with love and many cups of tea to ensure it meets our high standards. Once your DIY is done, why not celebrate by browsing our collection of line art sculptures to decorate your newly perfected room?
Frequently Asked Questions (FAQs)
Is a wobbly light switch dangerous?
It can be. Over time, movement can cause wires to chafe against the metal backbox, which is a potential fire hazard. It is best to fix it sooner rather than later.
Can I use washers to fix a loose light switch?
You can, but it is not recommended. Washers are difficult to hold in place during installation and do not provide the solid, even support of a dedicated spacer, which can lead to the faceplate cracking.
What length of screws do I need for a light switch with spacers?
You need to add the depth of your spacer to the length of your original screws. For example, if your old screws were 25mm and you add a 10mm spacer, you will need 35mm screws (M3.5 is the standard thread size).
Why won’t my light switch screw tighten?
This usually means the thread inside the lug (the metal tab) on the backbox has been stripped. You may need to use a backbox repair clip or, in some cases, replace the backbox.
Do I need an electrician to fix a wobbly switch?
If the fix simply involves fitting a spacer as described above and you are confident in working safely with electrics, you can do it yourself. However, if you have any doubts at all, or if you suspect an electrical fault, always call a qualified electrician.